

How to create your own at-home holiday photoshoot
So, you’re feeling a little stir-crazy in this #stayhome 2020 life, too?
I’ve got you.
Today I’m sharing a fun way to set up a QUICK and simple at-home holiday photoshoot.
You may be sending cards to loved ones since you can’t be with them in person this year. Why not make them a little more personalized?
Here’s a step-by step-process for how we created our own at-home Christmas photoshoot session.
Not only did we have a blast, but, I ended up creating some pretty awesome holiday cards to send to our families who we’re really missing for the holidays this year.
On Traditions
Growing up, it was always a tradition for my family and I to get dressed up for the holidays. Like, really dressed up.
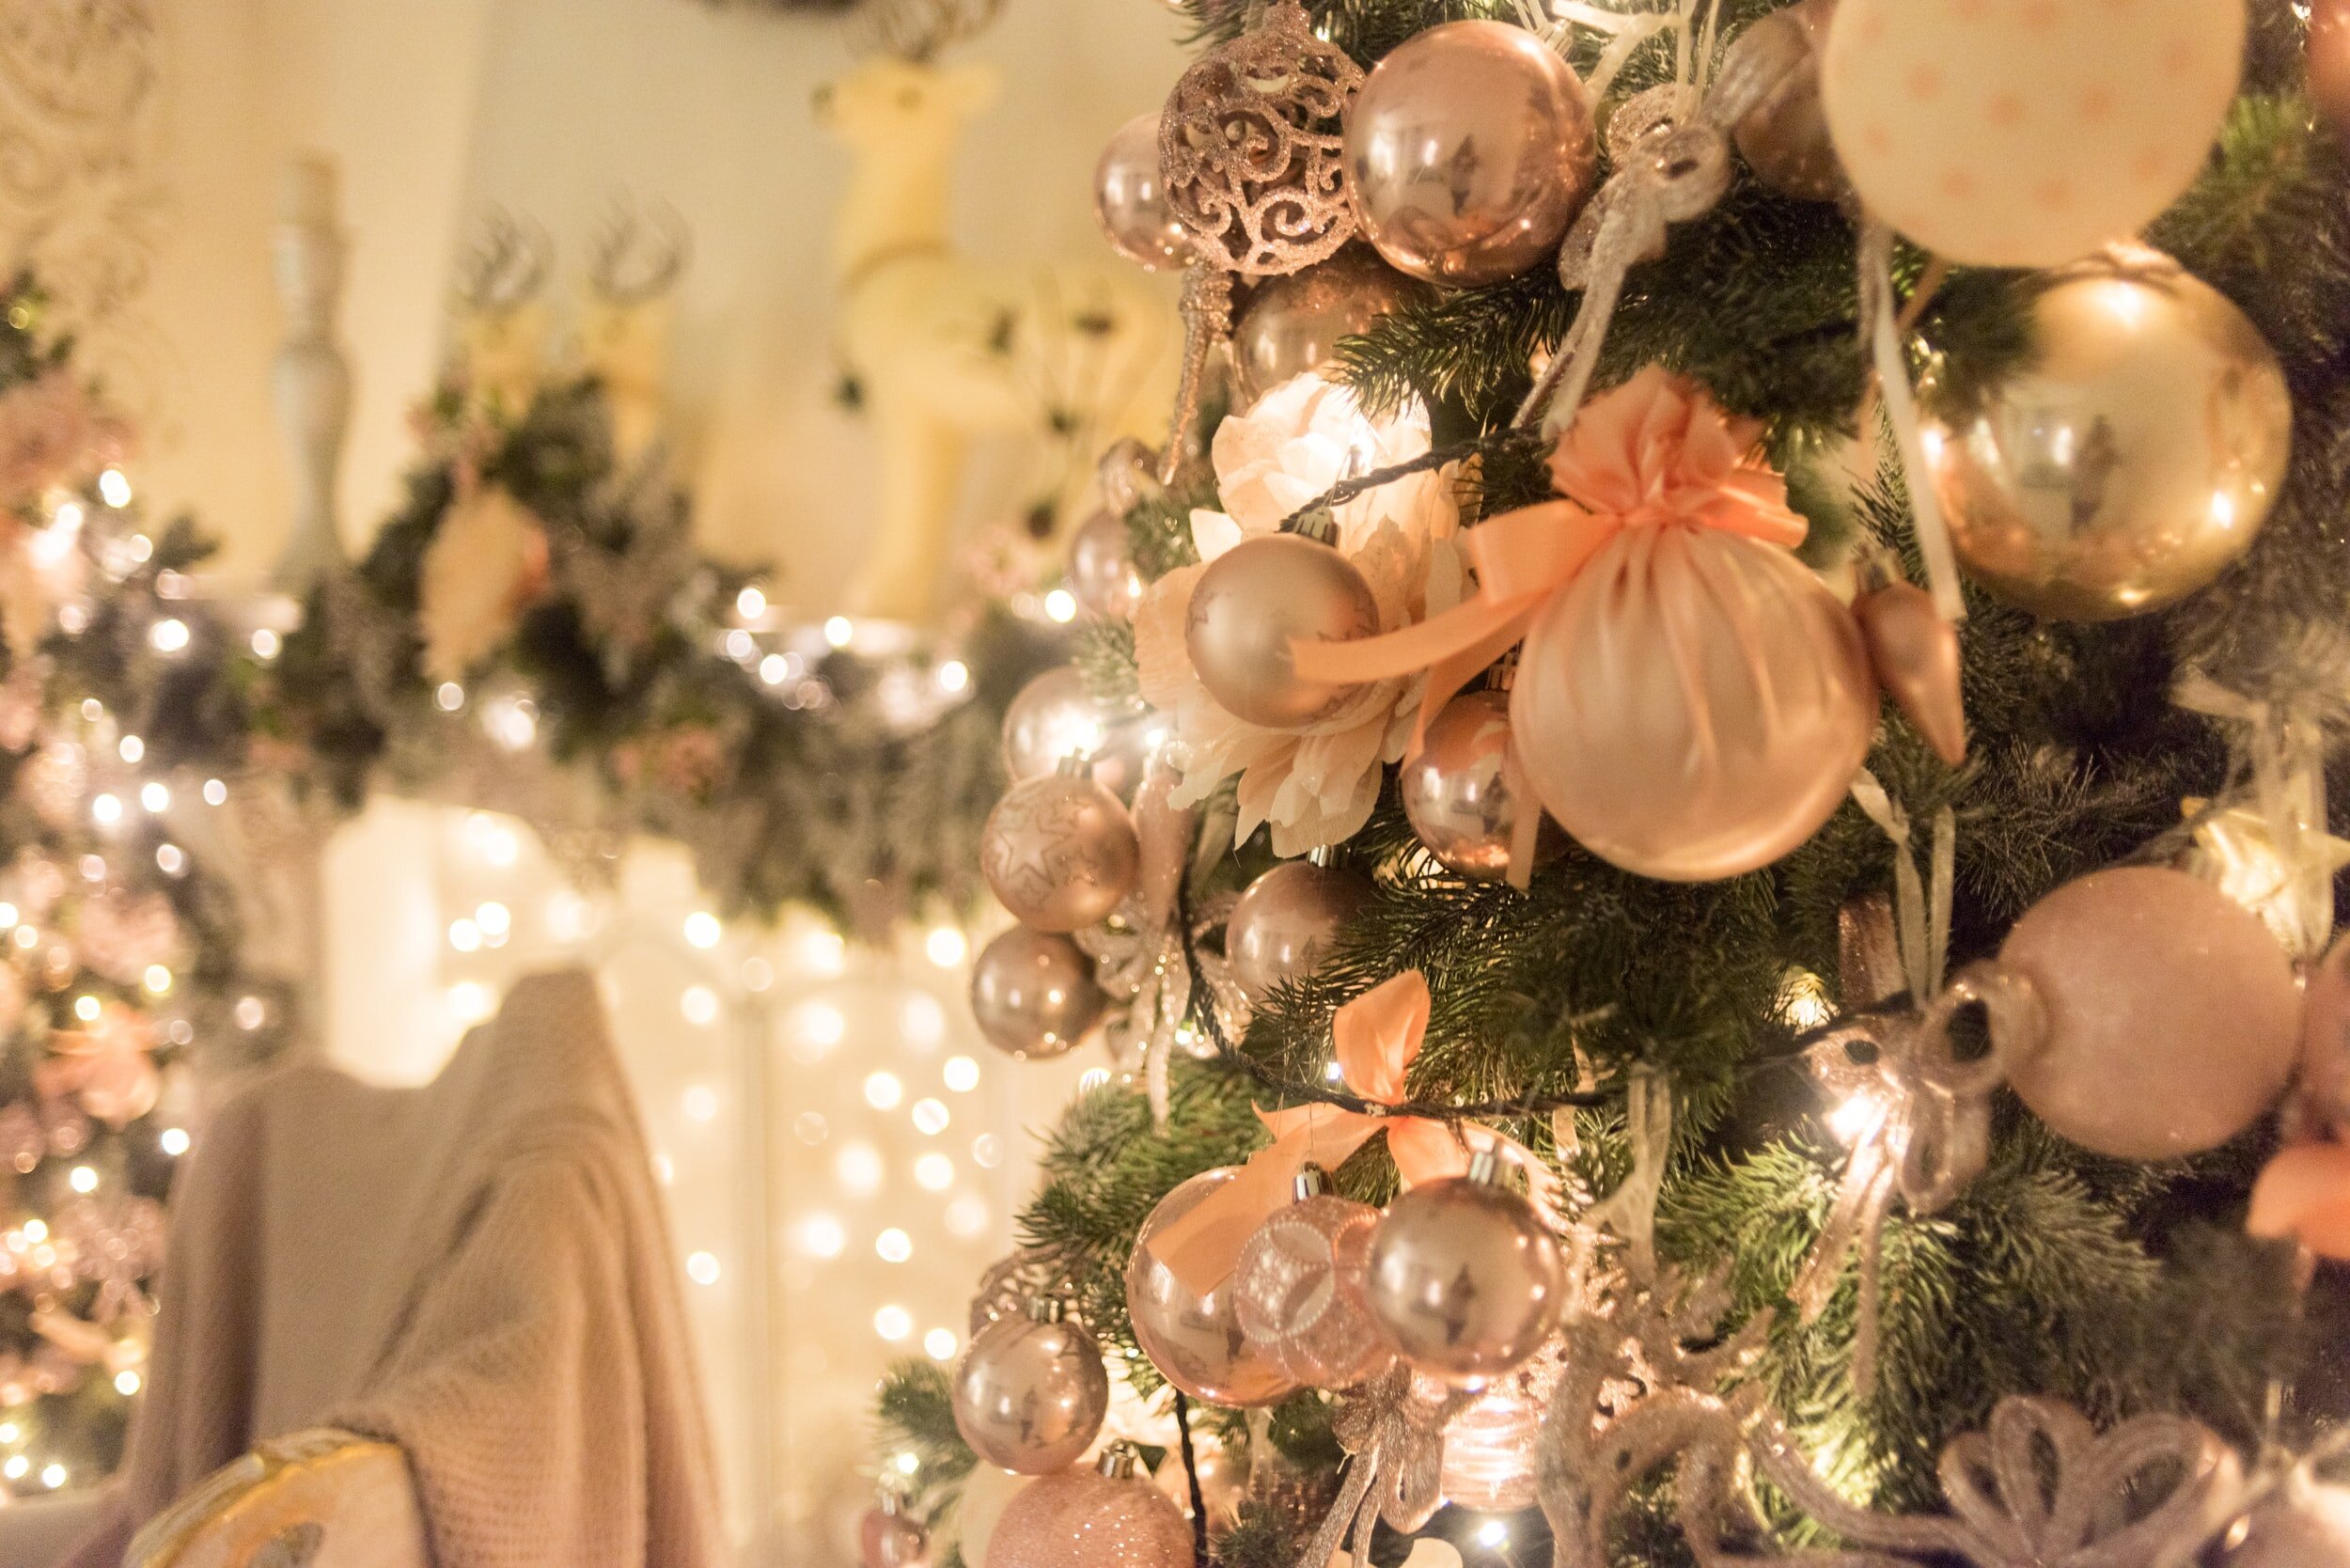
We’d put on fancy outfits, do our hair and make-up, and have photoshoots in front of our grandparents’ Christmas tree and decor.
I learned to love taking pictures because to this. I’ve been our family’s designated photographer ever since!
My passion grew as I got my first DSLR camera. My (very) patient family and friends let me snap away with them as my muses. I have taken the photos for special events like my best friends’ engagement, my sister’s maternity photos, and, headshots for friends and family.
Today, I share a lot of my journey as a health and wellness coach via my photos.
I do this by posting on Instagram and Facebook, two very visual platforms, and I take 99% of my own photos. My man helps me every now and then!
I’ve found ways to get self-sufficient in photo taking with just three things:
Light, bright, NATURAL lighting
An iPhone or camera
A tripod
Bonus: Lots of practice.
How this New Tradition Started
My man doesn’t love being in front of the camera. But when we moved in together, he quickly got the picture that ya girl loves a good photo sesh, lolz.
In his first year in Canada, I took him to a holiday market here in Vancouver.
There was a Photo Booth kiosk at this market, with a photographer taking Christmas photos and provided props to get festive with! The photographer snapped three poses. We paid to print them & received the digital copies, too.

Our first holiday photo shoot in 2018.
It became a little tradition of ours to go to that little local Christmas market festival and take holiday photos together!
The 2020 Pivot
Welp. This year being 2020 and everything that entails— You guessed it. That market was cancelled.
But now more than EVER, I needed that holiday cheer.
So instead of ditching this newfound tradition, I decided to pivot.
I had an idea of creating our own photoshoot experience, here at home!
I was blown away by how bright and festive the pictures turned out that I decided I would write a blog post about it.
And, that leads us here. Sweet! You’re all caught up.
Now, it’s time to dig in. So, if you’re feeling like I am— a little bummed about this year, and, not being able to (or not comfortable) booking an in-person photoshoot with a photographer, my hope is that this idea-pivot helps you, too, until you can.
My goal is simply to spread a little creativity and an offering for a festive moment with your family.
My At-home Holiday Photoshoot in 5 Steps:
1. Theme and Props
Pick a colour scheme and vibe!
Perhaps you love a crisp white and gold theme. Or, something more vibrant and colourful.
Once you’ve decided, pick props that match your theme. Chances are, you already have five or six “prop items” (basically decorations) lying around your house that you can use in your photos.
We went for the traditional red and green theme.
We already had some props with this theme. And, for whatever we were missing, we found the rest at the dollar store for about $20.

Our Props
A lightweight tablecloth
Two gift boxes
A candy cane
A wooden tree with gold script
Two tiny fake spruce trees
Outfit accessories (two articles each)
(Not pictured) Pillows and blankets.
2. Lighting and Location
I always say diamonds aren’t a girl’s best friend— good lighting is.
Bright, natural lighting is key to help your colours pop.
The location of your photoshoot might be near your tree, beside your fireplace, or in front of a plain wall in your house.
We organized our location to be the office. We set up in front of the closet which faces a large window.
TIP 1: As the subject, make sure you are facing a large window, not away. This will cast natural light on you and avoid creating shadows.
TIP 2: If you’re noticing that good, natural light is hard to come by in these colder months and earlier evenings, then you might consider turning an artificial light on. I recommend a ring light (or something similar to one) which we found helpful for this exact reason! (Click here to see the ring light I use). We didn’t crank the light too bright so as to prevent us looking blown out and Bliiiiinded By The LIIIGHTTT… lol!) Remember, just a little illumination goes a long way.
PS: I know you’re totally singing the song in your head now. Samesies.
3. Set the Scene and Pick Outfits
What are some looks, poses, and scenes you’d like to create?
We decided our poses would be: Standing, sitting on a chair, and, sitting on the floor.
If you’re working with a plain wall like we were, to set the scene, tape your festive tablecloth to the wall as your backdrop. Hang / tape / position any other props that you want included in your shot. Also, pick the props/decorations you’d like to hold and wear.
TIP: Instead of a tablecloth, you can use this as an opportunity for arts and crafts with your family! Create your own homemade ornaments or decor to hang behind you.
Wear clothes you already own that can totally pull off a holiday vibe. (Example: He rocked black jeans and red flannel shirt. I wore shiny black leggings, and a thick, forest green sweater).
We wore our new accessories over our regular clothes. And, voilà! Successfully transformed our everyday outfits into a cheeky festive spin. He wore an elf hat and sparkly tie. I wore a reindeer headband and a very sassy Mrs. Claus-inspired velvet skirt over my shiny black leggings.
Wear whatever makes you feel comfortable! That could be casual jeans and a white tee, or, even going beyond our holiday outfits and really getting into costume! It’s your photoshoot, you’re in charge.
I did my hair and make-up as I would have done had we had our market festival photo booth. Getting dressed up, curling my hair, and feeling a little festive was a welcome change from my regular 2020 outfit: Pyjamas and hair bun.
4. Tools for Capturing the Moment
You will need:
— A camera. Some may have a DSLR or a digital camera. I have found smartphones generally do a great job at capturing clear photos these days. I say, work with what you’ve got! Don’t worry if you don’t have fancy gear— you don’t need it. Especially with features like Portrait mode creating great depth on your smartphone! We opted to use an iPhone and predominantly used regular Photo mode.
— A tripod, (or ring light stand). As I mentioned, we used a ring light. But I also love this tripod that I use when I travel (check it out, here).
—A remote control or a 10-second self-timer. Many bluetooth remotes are included in tripod sets (as is so with the tripod I just linked above!). At first, you may need to go back and forth to test out a few poses and placement. Make adjustments as needed.
— Position your tripod with your camera. One person should organize the look of the scene by moving your tripod closer or further away from your backdrop. The rest of your crew should hold the fort down so you can position everything.
TIP: A neat feature with an Apple Watch is that it can pair with your iPhone as a bluetooth remote— WITH the screen visible to you! This helps to make adjustments while standing in place, and, it includes a 3-second timer. So, no need to run back and forth to your phone. That’s what we used). Check out this video to see what I mean:
5. Pour some bubbly and crank Bublé
From there, it’s beginning to look a lot like a Christmas photoshoot!
We poured some Bubly sparkling water, and played Michael Bublé’s Christmas album in the background. It may not have been a professional shoot, but, we had a blast with our homemade version, and simply enjoyed the silliness of it all.
BEHIND THE SCENES: We only came up with the idea to toast with our champagne flutes because we were genuinely really freakin thirsty, lol! Have fun with this and let creativity take the lead.
The Result
We were SO pleased with how they turned out!

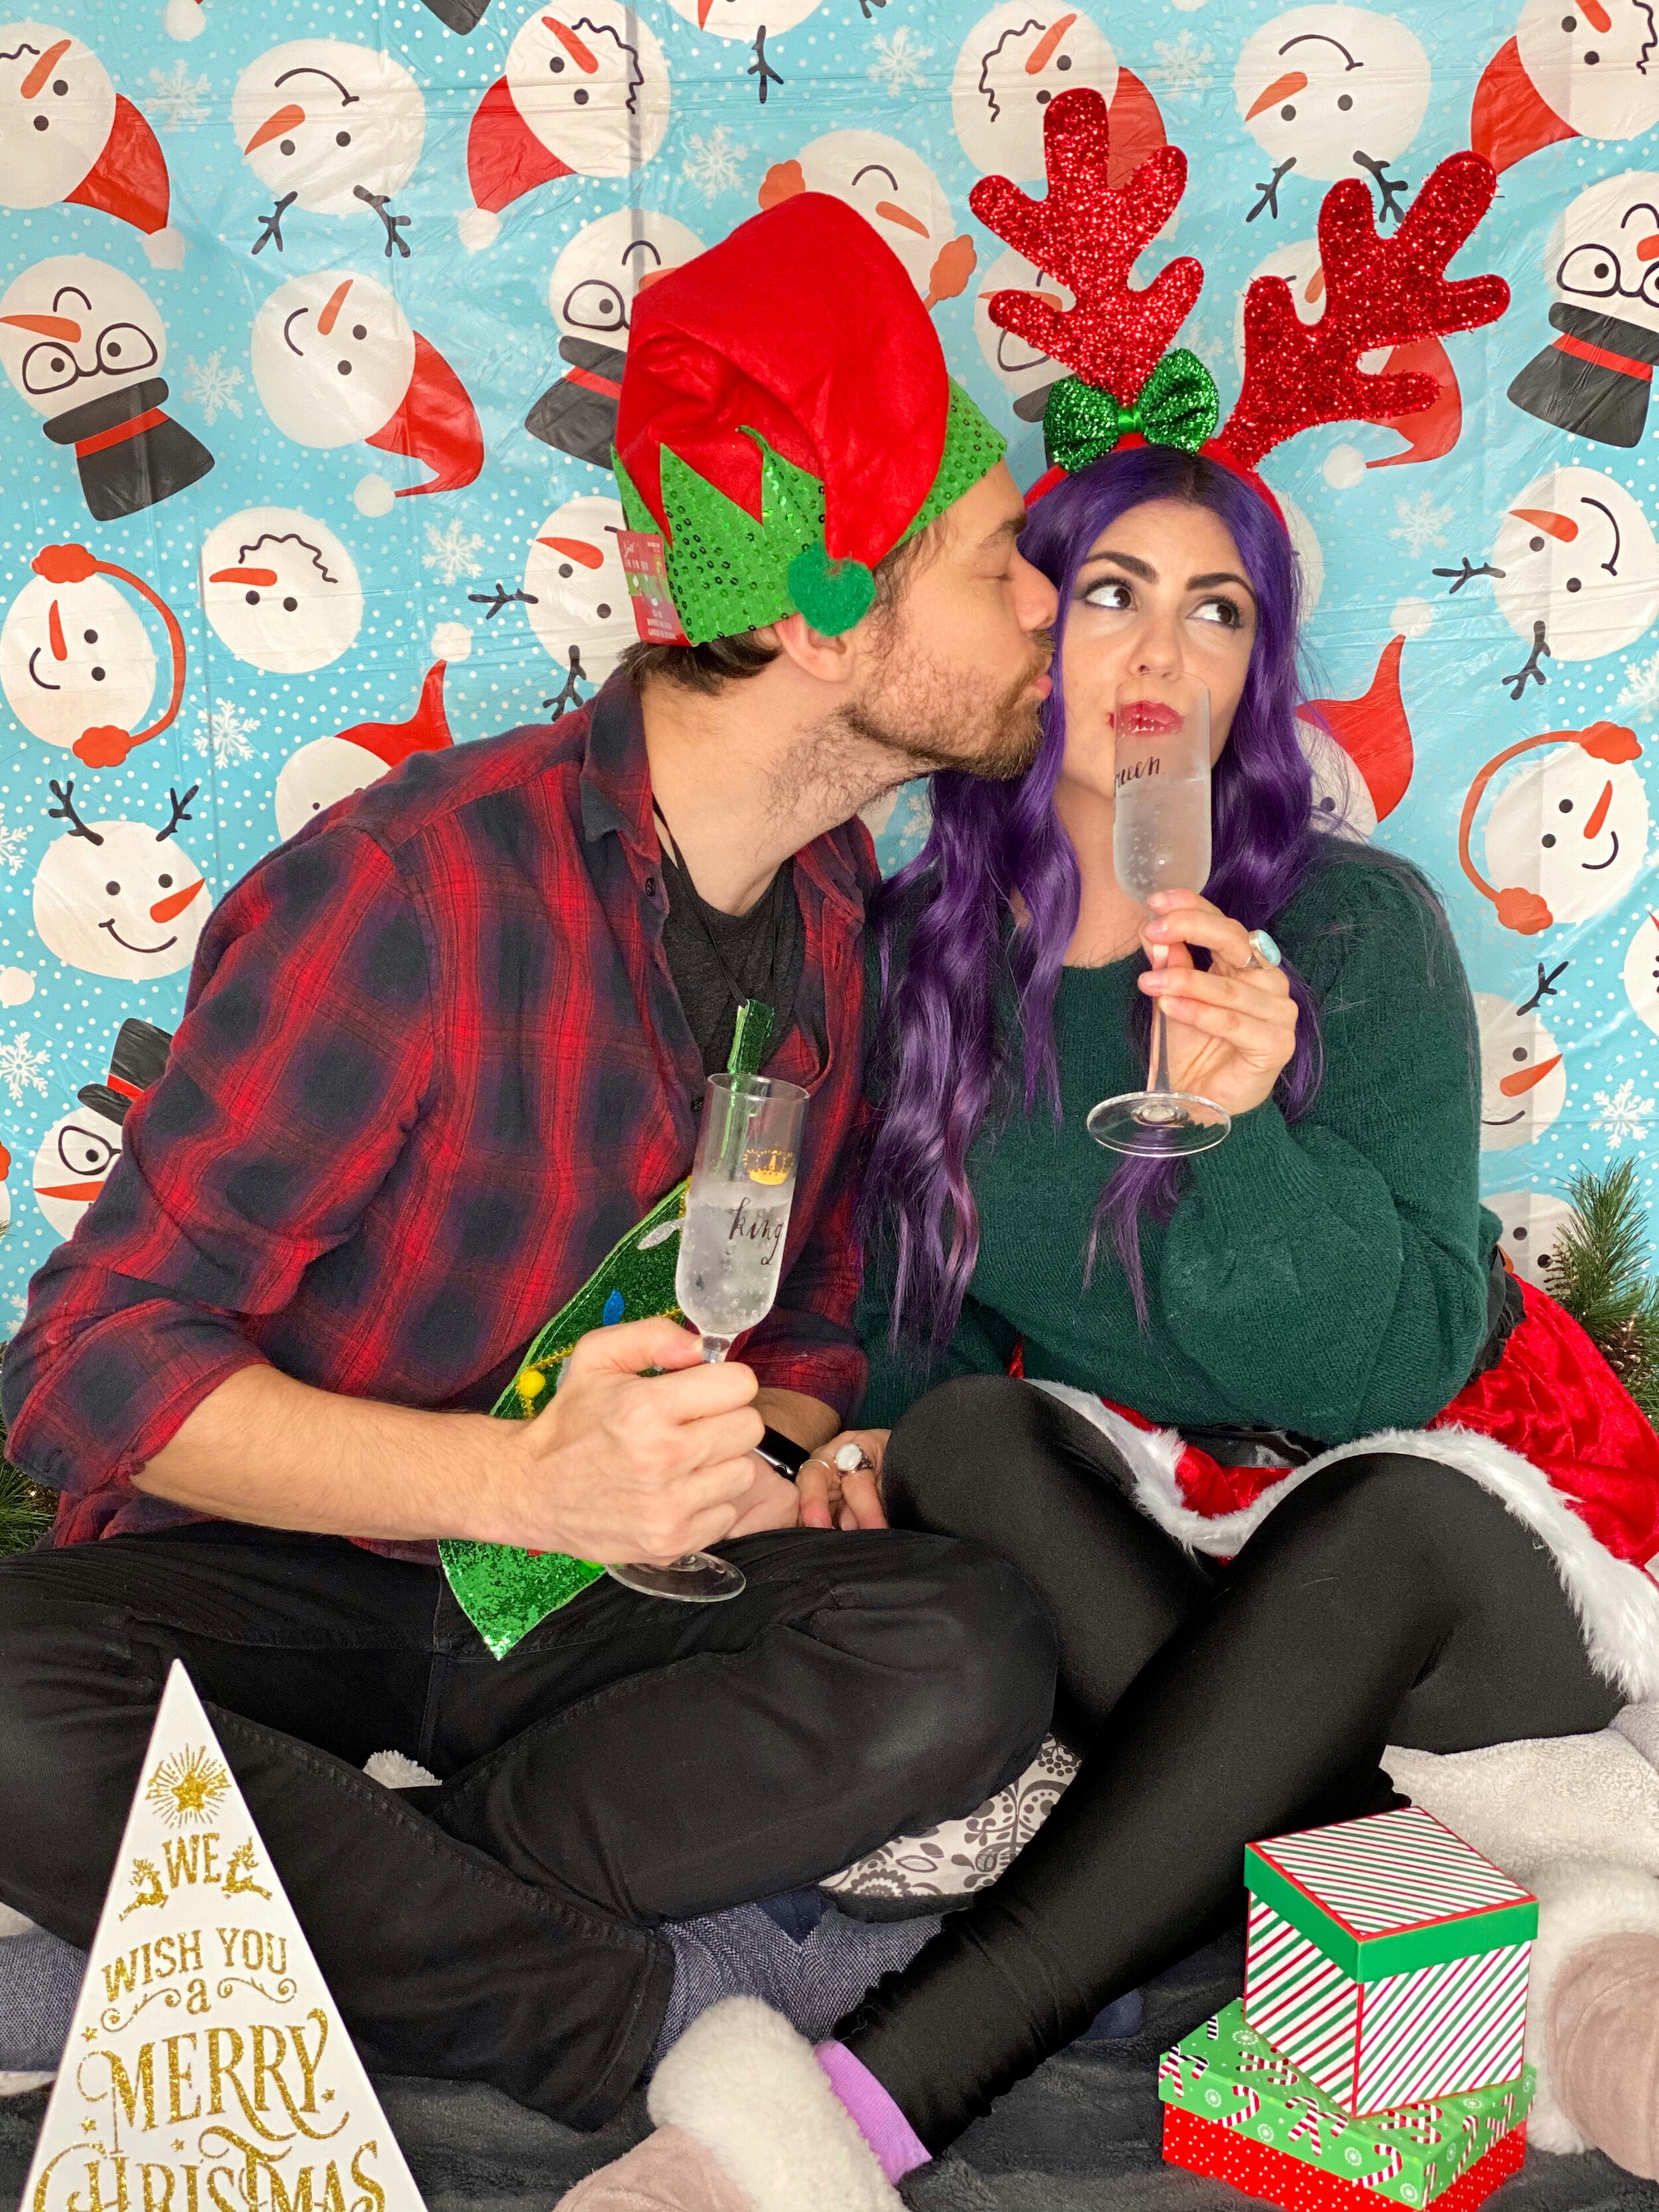

CRAZIEST part is, this ENTIRE shoot only took about 30 minutes.
6. Optional: Turn your New Rad Holiday Pics into Holiday Cards
Fair warning: You’ll quickly realize you looked adorable AF in your homemade family photoshoot pics.
So it’s natural that you positively NEED all your friends & family to see how good you looked (lol!)
TIP: You can take your new rad holiday pics a step further.
Print a few out and mail them in your holiday cards to your loved ones. Given we can’t all be together in this 2020 holiday season, this is a great way to send some cheer in the mail. I’m confident this extra step will go a long way for you as it did for us.

Personally, I got a little digital-design-crazy!
I ended up deciding to turn these photos into holiday cards for my family. I created the cards on Canva. I saved it as a PDF document, printed them on photo paper, and folded it in half to create two-sided cards.

From idea..
To at-home photo shoot..
To a holiday card in my hands.
This is what the physical cards ended up looking like.

Kept the holiday vibes going inside!
We picked two more photo shoot favs! They were visible inside the folded paper.

Spread some snail-mail cheer
I was absolutely thrilled when the texts rolled in from friends and family! So neat seeing our card in their homes!
<—Check these out.

The digital fun continued…
I used Canva templates to turn our photos into my new backgrounds for my phone. (This is a shot where we took the photo in Portrait Mode on iPhone. It blurred our snowman backdrop and kept us in focus).
Have a blast!
We could all use a smile!
Tap into creative outlets.
Add your own sparkle to your homes this year.
I hope this blog helps you do precisely that.
Things may not look the same as they normally do this year. But, we can pivot. We can find inspiration, joy, and create new spins on old traditions.
Also, this at-home photo shoot concept can totally work for anything… Holiday, events, birthdays, or special occasions.
It’s worth nothing that, perhaps you are getting professional pics taken this year! If you feel comfortable & safe doing so, then it is absolutely fantastic to support kickass local photographers. This blog could simply serve as a fun DIY project in addition to that.
Either way, I’m wishing you a happy photo shoot!
If you try this with your loved ones and decide to share them on social media, I would absolutely LOVE if you tagged me on Instagram! Tag my handle @amanda.pennino, and I can’t wait to see the magic you and your families create.